End-of-Day Checklist: 12 Steps to Close Your Dental Books Right
End-of-Day Reconciliation Checklist
Download the complete 9-step daily closeout checklist with reconciliation grid to close your books right every day.
The end of the day is when most revenue goes missing. A consistent closeout process is your last line of defense.
📚 Part of our reconciliation series: This article is part of The Complete Guide to Dental Practice Reconciliation, our comprehensive resource on closing your books accurately and preventing revenue leakage.
Why End-of-Day Matters
Every dental practice collects money throughout the day. Cash, checks, credit cards, and insurance payments flow in. Without a disciplined closeout process, some of that money slips through the cracks.
End-of-day reconciliation is not just about balancing the drawer. It is about verifying that every dollar collected was recorded correctly and will make it to the bank. The practice that skips this step discovers problems weeks or months later when they are much harder to fix.
These twelve steps take about thirty minutes and should happen every single day.
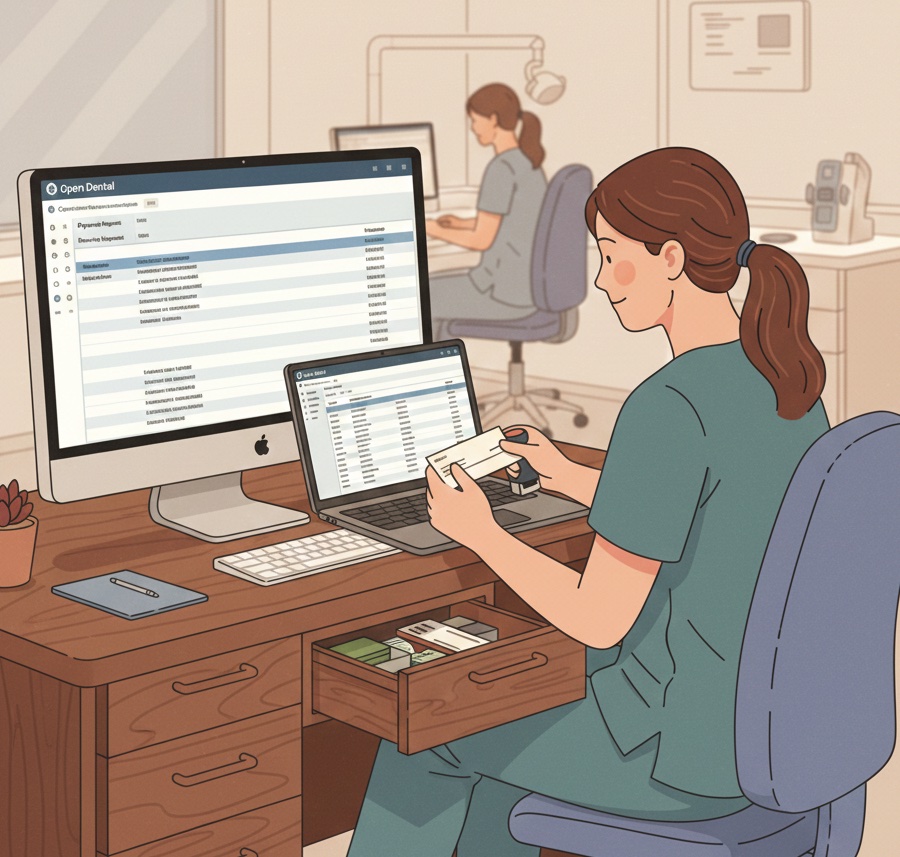
Step 1: Verify All Patients Are Checked Out
Before closing anything, confirm that every patient who was seen today has been checked out in the system. Look for appointments marked as arrived but not completed. Check for patients who may have left without checking out.
Patients who slip out without completing checkout often owe money that never gets collected. Catching them same-day allows for immediate follow-up.
Step 2: Run the Day Sheet
Generate the daily summary report showing all production and payments for the day. This is your source of truth for what should have happened financially.
Review the totals for production by provider, payments by type, and adjustments applied. These numbers will be compared against physical counts and deposits.
Step 3: Count the Cash Drawer
Count all cash in the drawer and document the count. Use a consistent counting procedure and count form. Two people should verify the count when possible.
Compare the cash count to the PMS total for cash payments. Any variance greater than a few dollars requires investigation before proceeding.
Step 4: Verify Check Payments
Pull all checks received today and compare to the PMS check total. Verify that check amounts match what was posted. Confirm check numbers were captured in payment records.
Endorse all checks with your restrictive endorsement stamp showing For Deposit Only to your practice bank account.
Step 5: Settle Credit Card Batches
Close your credit card terminal batch and print the settlement report. Compare the batch total to the PMS total for credit card payments.
Credit card totals should match exactly. Any variance indicates a transaction that was run but not posted, or posted but not run. Investigate before settling.
Step 6: Review Insurance Payments
If any insurance payments were received today, verify they were posted correctly. Match EFT deposits to their corresponding ERAs. Verify check payments were posted and checks are ready for deposit.
Insurance payment posting is complex and error-prone. Same-day verification catches mistakes while details are fresh.
Step 7: Review Adjustments
Look at all adjustments made today. Verify each adjustment has a valid reason code and appropriate authorization if required by your policy.
Excessive or unexplained adjustments can indicate improper write-offs. Catching them same-day allows for correction and coaching.
Step 8: Prepare the Deposit
Combine cash and checks into the bank deposit. Complete the deposit slip with itemization. Verify the deposit total matches your PMS totals for cash and check payments.
Take photos or make copies of all checks for your records before depositing.
Step 9: Compare Totals
Your PMS payment total should equal your cash count plus credit card batch plus checks deposited plus any insurance payments posted. Work through any variance until you understand where every dollar went.
Do not proceed with closeout until totals reconcile or variances are documented for follow-up.
Step 10: Run Day-End in PMS
Execute any day-end procedures required by your practice management system. This may include closing the business day, generating end-of-day reports, or locking transactions.
Save or print required reports according to your documentation policy.
Step 11: Secure Deposits and Cash
Place the prepared deposit in your secure storage for bank delivery. Reset the cash drawer to starting balance. Secure any remaining petty cash.
Never leave deposits unsecured overnight. Never leave excess cash in the drawer.
Step 12: Document and Sign Off
Complete your end-of-day documentation showing totals, any variances noted, and initials of the person closing. File documentation according to your retention policy.
This paper trail is essential for accountability and for researching any questions that arise later.
When Things Do Not Balance
Small variances under five dollars may happen occasionally due to counting errors or rounding. Document them and watch for patterns.
Larger variances require investigation before closing. Check for unposted payments, posting errors, or missed transactions. Do not simply write off unexplained differences.
Recurring variances suggest a process problem. Review procedures, provide additional training, or adjust controls.
Want to automate your end-of-day verification? Zeldent compares your PMS totals to actual bank deposits automatically, flagging discrepancies the next morning. Schedule a demo to see effortless closeout verification.
End-of-Day Reconciliation Checklist
Download the complete 9-step daily closeout checklist with reconciliation grid to close your books right every day.