DSO Integration Playbook: Onboarding New Practice Financials
The deal closed Friday. Monday morning, you own a practice with unknown financial processes, unfamiliar systems, and a team wondering what changes are coming. Now what?
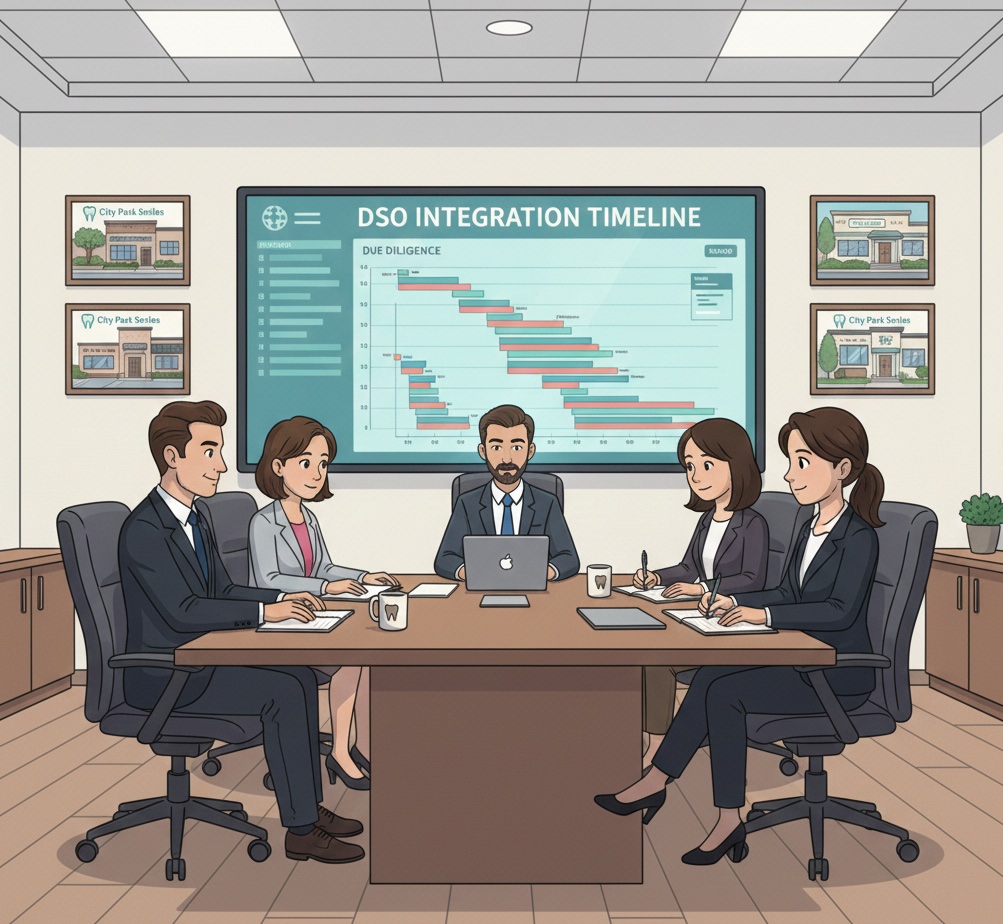
📚 Part of our DSO series: This article is part of The DSO Financial Operations Playbook, our comprehensive guide to building scalable financial operations across multiple dental practice locations.
The Integration Challenge
Acquiring a dental practice is the beginning, not the end. The real work starts when you take ownership and need to integrate financial operations into your DSO.
Every acquired practice is different. Some have clean books and solid processes. Others are financial chaos masked by good clinical production. You will not know which you have until you get inside.
The first ninety days determine whether integration succeeds or struggles. Move too fast and you break things that work. Move too slow and problems compound. The goal is methodical progress that establishes control without disrupting revenue.
This playbook provides a structured approach for DSO finance teams onboarding new practice financials.
Week One: Establish Control and Visibility
During the first two days, focus entirely on securing access to everything financial. For banking, add authorized signers to all accounts, set up online banking access for central finance, verify all account numbers and current balances, and understand any outstanding obligations including loans and lines of credit.
For the practice management system, obtain administrator credentials, create central finance user accounts, verify that audit trail functionality is enabled, and document current user access levels. For accounting software, access QuickBooks or whatever system is in use, verify the current state of the books, and understand the fiscal year and accounting methods.
For merchant accounts, access processor portals, verify that deposit accounts are correctly configured, and document fee schedules. For insurance, access clearinghouse credentials, verify ERA delivery is active, and document major payer portal logins. For payroll, access the payroll system, verify upcoming pay dates, and understand the current payroll process.
During days three through five, with access secured, assess the current state. For bank reconciliation status, determine when the last reconciliation was completed, whether there are outstanding items, and what the current unidentified deposit balance looks like. For accounts receivable, pull an AR aging report, calculate AR days and over-ninety-day percentage, and identify major outstanding balances.
For accounts payable, determine what bills are outstanding, whether there are any past-due obligations, and what recurring expenses exist. For credit balances, pull a credit balance report, assess the total and aging, and identify any large individual credits. For cash position, determine current operating cash, upcoming payroll obligations, and whether adequate reserves exist.
During days five through seven, document how things currently work even if you plan to change them. For daily procedures, understand who handles patient payments, how deposits are prepared, and what the end-of-day process looks like. For weekly procedures, determine who processes insurance payments, how ERA files are obtained, and who manages AR follow-up. For monthly procedures, understand who reconciles accounts, how financial reports are prepared, and what was submitted to the previous owner or accountant. For key people, identify who has institutional knowledge, who handles what function, and what coverage plans exist for absences.
Weeks Two Through Four: Stabilize Operations
You cannot manage what you cannot see, so establish daily reporting from day one. A daily deposit report should require daily reporting of all deposits, match them to bank transactions, and flag any unidentified amounts. A daily collection summary should capture production for the day, collections by type, and key variances or issues. Exception alerts should flag deposits above threshold, adjustments above threshold, and unusual transactions.
Focus on standardizing the processes with highest financial impact first. Implement your standard deposit procedure with proper segregation of duties and required deposit verification. For insurance EFT matching, establish daily ERA retrieval, require same-day matching to deposits, and create unmatched deposit tracking. For credit card reconciliation, implement daily batch settlement, match to merchant deposits, and track timing differences.
Some findings require immediate action. For unidentified deposits, catalog all unidentified deposits from your baseline assessment, begin investigation of larger amounts, and set a resolution timeline. For past-due payables, identify any critical past-due obligations, prioritize payment to avoid disruption, and communicate with vendors as needed. For staff concerns, address any urgent staffing issues, clarify roles and expectations, and begin building relationships.
Integration should not disrupt clinical operations. Protect the patient experience by ensuring billing questions are handled, maintaining appointment scheduling, and keeping insurance verification active. Support the clinical team by ensuring supplies continue flowing, lab relationships are maintained, and equipment service remains uninterrupted.
Weeks Five Through Eight: Implement Standards
Begin migrating to your standard platforms and processes. For PMS, decide whether to continue with the existing system or migrate. If migrating, plan the timeline carefully. If continuing, configure the system for your reporting needs. For accounting integration, set up accounts in your chart of accounts, configure reporting to match your standards, and establish data flow to central accounting. For banking, transition to your standard banking relationship if planned, update EFT information with payers, and redirect merchant deposits.
Your processes only work if staff follows them. For EOD procedures, train staff on your standard end-of-day checklist, verify compliance daily initially, and address gaps immediately. For reconciliation expectations, explain what is expected, provide tools and templates, and review results regularly. For reporting requirements, clarify what reports are due when, establish the submission method, and create accountability for timeliness.
Build the monitoring infrastructure for ongoing management. Schedule regular check-ins with weekly calls with the office manager initially to review key metrics together and address questions and concerns. For report review, incorporate the location into your central reporting package, compare to other locations, and flag outliers for investigation. For audit scheduling, plan periodic audits including both desk audits and on-site visits, and document findings and follow-up.
Weeks Nine Through Twelve: Optimize and Stabilize
Clean up anything lingering from the transition. For aged unidentified deposits, make a final push to identify or write off each item, document resolution for each, and establish a go-forward protocol. For AR cleanup, address aged AR from pre-acquisition, determine what is collectible, and write off what is not. For credit balance resolution, process refunds for legitimate overpayments, correct posting errors, and clear old unresolvable items.
With basics stable, look for improvement opportunities. For collection rate, compare to other locations, identify gaps and causes, and implement targeted improvements. For denial management, analyze denial patterns, address systematic issues, and improve submission quality. For process efficiency, identify bottlenecks, streamline where possible, and consider technology improvements.
Transition from integration mode to normal operations. Reduce check-in frequency by moving from weekly to bi-weekly, then to monthly as appropriate, while maintaining exception-based escalation. Integrate into standard reporting so the location appears in normal dashboards with no special handling required and is comparable to peer locations. Formally close the integration project by documenting lessons learned and celebrating success.
Common Integration Pitfalls
Moving too fast changes everything at once, overwhelming staff and breaking working processes. Prioritize changes that matter most and sequence them carefully.
Ignoring cultural fit forgets that financial integration happens within a human context. Staff who feel disrespected or ignored will resist change. Bring them along rather than imposing changes without explanation.
Underestimating cleanup happens because pre-acquisition due diligence catches some issues, but post-close you find the rest. Budget adequate time and resources for cleanup.
Neglecting documentation wastes the knowledge gained during integration. Document processes, issues, and solutions so future acquisitions can benefit from what you learned.
Declaring victory too early mistakes putting out immediate fires for completing integration. Integration is truly complete when the practice operates to your standards consistently, and that takes time.
Integrating newly acquired practices? Zeldent provides DSO finance teams with immediate reconciliation visibility across your entire portfolio. See every location's deposit matching status, flag exceptions automatically, and ensure newly integrated practices meet your standards from week one. Schedule a demo to see DSO-scale financial oversight.