How to Reconcile Delta Dental Payments Step by Step
Insurance Payment Quick Reference
Download the quick reference guide with ERA codes, payer portals, and troubleshooting tips for insurance payment reconciliation.
Delta Dental is the largest dental insurance network in the country, but reconciling their payments comes with unique challenges. Here is how to navigate the Delta system.
📚 Part of our insurance series: This article is part of The Complete Guide to Dental Insurance Payments, covering everything from EFT enrollment to ERA matching and payer-specific workflows.
Understanding Delta Dental's Structure
Delta Dental operates as a network of independent member companies serving different geographic regions. Delta Dental of California, Delta Dental of Michigan, and Delta Dental of Massachusetts are all separate entities that happen to share a brand. This federated structure means payment processes, portal access, and reconciliation procedures can vary depending on which Delta entity you are dealing with.
Most practices participate in multiple Delta networks simultaneously and receive payments from several different Delta companies each month. Understanding which Delta is which makes reconciliation significantly easier.
How Delta Dental Payments Arrive
Most Delta Dental payments arrive via electronic funds transfer. Bank descriptions typically show Delta Dental along with a regional identifier or just the Delta name with a trace number. EFT payments usually deposit one to three business days after Delta releases payment.
EFT enrollment is typically managed through your regional Delta's provider portal or through your clearinghouse. Each regional Delta may have separate EFT enrollment, so verify your enrollment status with each Delta entity from which you expect payments.
Practices not enrolled in EFT receive paper checks by mail with accompanying EOB documentation. Converting to EFT provides faster payment receipt and easier reconciliation.
Navigating Delta Dental Portals
Because Delta operates regionally, you may need portal access to multiple Delta entities depending on your patient population. Each regional Delta has its own provider portal with its own login credentials.
The Delta Dental portal provides eligibility verification for Delta patients in that region, claims status tracking, payment history and ERA access, and provider information management.
Major regional Delta portals include Delta Dental of California at deltadentalins.com, Delta Dental of Michigan at deltadentalmi.com, Delta Dental of Massachusetts at deltadentalma.com, and many others serving their respective regions.
When a patient presents with Delta coverage, check which regional Delta administers their plan. This determines which portal to use for eligibility, claims status, and ERA retrieval.
ERAs from Delta can arrive through the regional Delta's provider portal, your clearinghouse which may consolidate ERAs from multiple Delta entities, or direct connection for larger organizations.
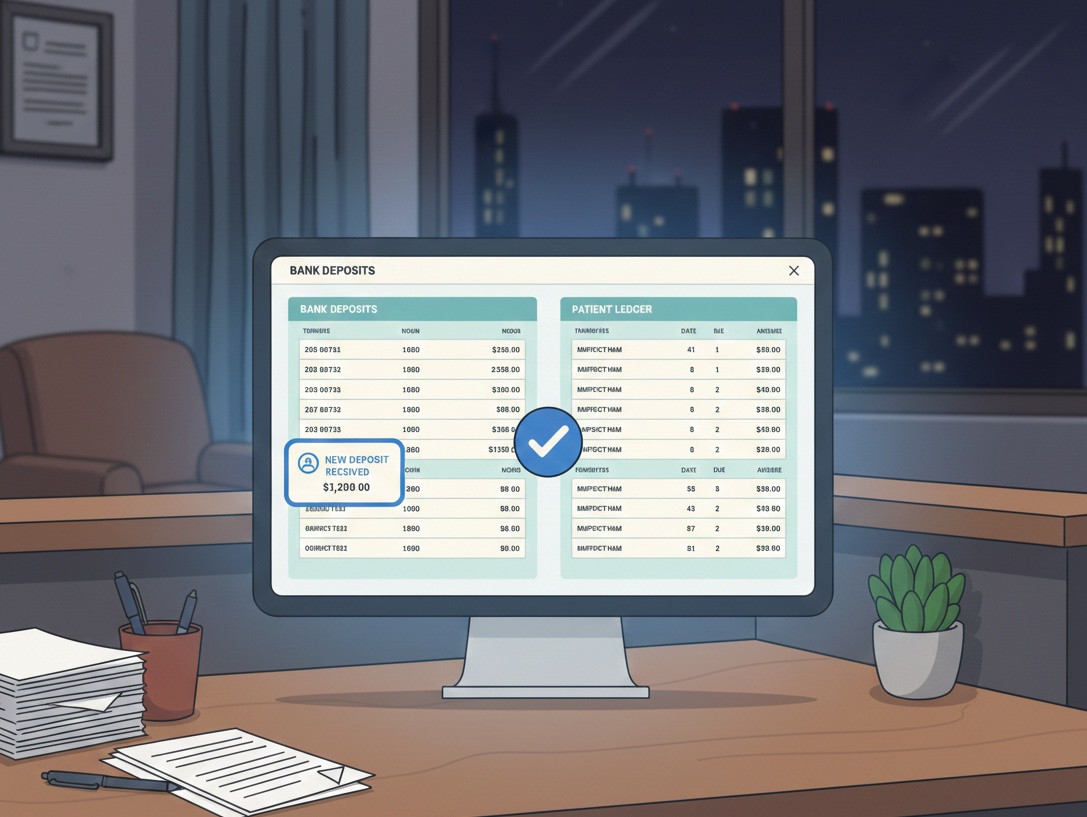
Matching Delta Deposits to ERAs
Start by identifying the Delta deposit in your bank account, noting the exact deposit amount, deposit date, description including any regional identifier, and trace number.
Determine which regional Delta sent the payment based on the bank description. This tells you which portal to search for the matching ERA. If uncertain, you may need to search multiple regional Delta portals or rely on your clearinghouse which should show ERAs from all Delta entities.
Search for the matching ERA in the appropriate Delta portal by searching by date range, amount, or trace number. In your clearinghouse, filter by Delta Dental as payer and search by date range and amount.
Delta sometimes combines multiple ERAs into a single deposit. If the deposit does not match any single ERA, look for multiple ERAs from the same date range that sum to the deposit total.
Before posting, review the ERA contents. Verify patients are yours and belong to your practice, check subscriber information matches your records, review allowed amounts and adjustments, and identify any denials requiring follow-up.
Post payments through auto-posting by importing the 835 file or through manual posting by working through each claim. Verify the posted total matches the ERA total before moving on.
Understanding Delta ERA Contents
The ERA header shows the payer name which identifies the specific regional Delta, payment date and amount, check or trace number, and provider information.
Each claim detail shows patient name and subscriber ID, claim number, service dates, procedure codes with submitted and allowed amounts, and adjustment codes.
Delta uses standard HIPAA adjustment codes. CO-45 indicates charges exceeding the contracted or allowed amount. PR-1 indicates patient responsibility for deductible. PR-2 indicates patient responsibility for coinsurance. PR-3 indicates patient responsibility for copay. CO-50 indicates non-covered service. CO-29 indicates timely filing limit exceeded. CO-4 indicates procedure code inconsistent with modifier or other claim element.
Delta includes remark codes providing additional explanation. Common remarks address frequency limitations, waiting periods, age limitations, and missing or incomplete information. Review remarks to understand payment decisions and identify correctable issues.
Common Delta Reconciliation Challenges
The multi-regional structure creates confusion because payments from different regional Deltas may look similar in your bank account. Match deposits carefully to the correct regional Delta to find the right ERA. Your clearinghouse should identify which regional Delta each ERA originates from.
Delta sometimes bundles payments from different regional entities or different claim batches into single deposits. When a deposit does not match any single ERA, look for multiple ERAs totaling to the deposit amount. Review check or trace numbers across ERAs to confirm they match the bank trace number.
Delta participation can be complex because you may be in-network with some regional Deltas but out-of-network with others. Verify your participation status with each regional Delta to understand expected payment levels. Out-of-network claims process differently and may have different patient responsibility calculations.
Delta may recoup overpayments by deducting from current payments. The ERA shows negative amounts referencing the original overpaid claim. Handle recoupments by locating the original claim, verifying the take-back is valid, adjusting the original posting, billing the patient if appropriate, and appealing if the recoupment is incorrect.
Patients sometimes have both Delta and another primary insurance. Verify coordination of benefits information is current, confirm which insurance is primary, and ensure Delta processes as secondary when appropriate. COB issues cause payment variances that require investigation.
Building a Delta Reconciliation Routine
Daily tasks include checking the bank for Delta deposits, identifying which regional Delta each deposit came from, matching deposits to ERAs, posting or queuing for posting, and flagging unmatched items.
Weekly tasks include reviewing aged unmatched Delta items, following up on denials, working the resubmission queue, and checking claim status on pending items.
Monthly tasks include reconciling total Delta deposits to total posted payments, reviewing Delta AR aging by regional entity, analyzing denial patterns, and verifying fee schedule accuracy.
Quarterly tasks include reviewing participation status with each regional Delta, assessing collection rates by Delta entity, addressing systematic issues, and updating procedures for any Delta changes.
Managing Delta Dental reconciliation across multiple regional entities? Zeldent automatically matches Delta deposits to your PMS records regardless of which regional Delta sent the payment. Schedule a demo to see multi-payer reconciliation simplified.
Insurance Payment Quick Reference
Download the quick reference guide with ERA codes, payer portals, and troubleshooting tips for insurance payment reconciliation.