Insurance ACH Payment Reconciliation: Matching Lump Sums
Insurance Payment Quick Reference
Download the quick reference guide with ERA codes, payer portals, and troubleshooting tips for insurance payment reconciliation.
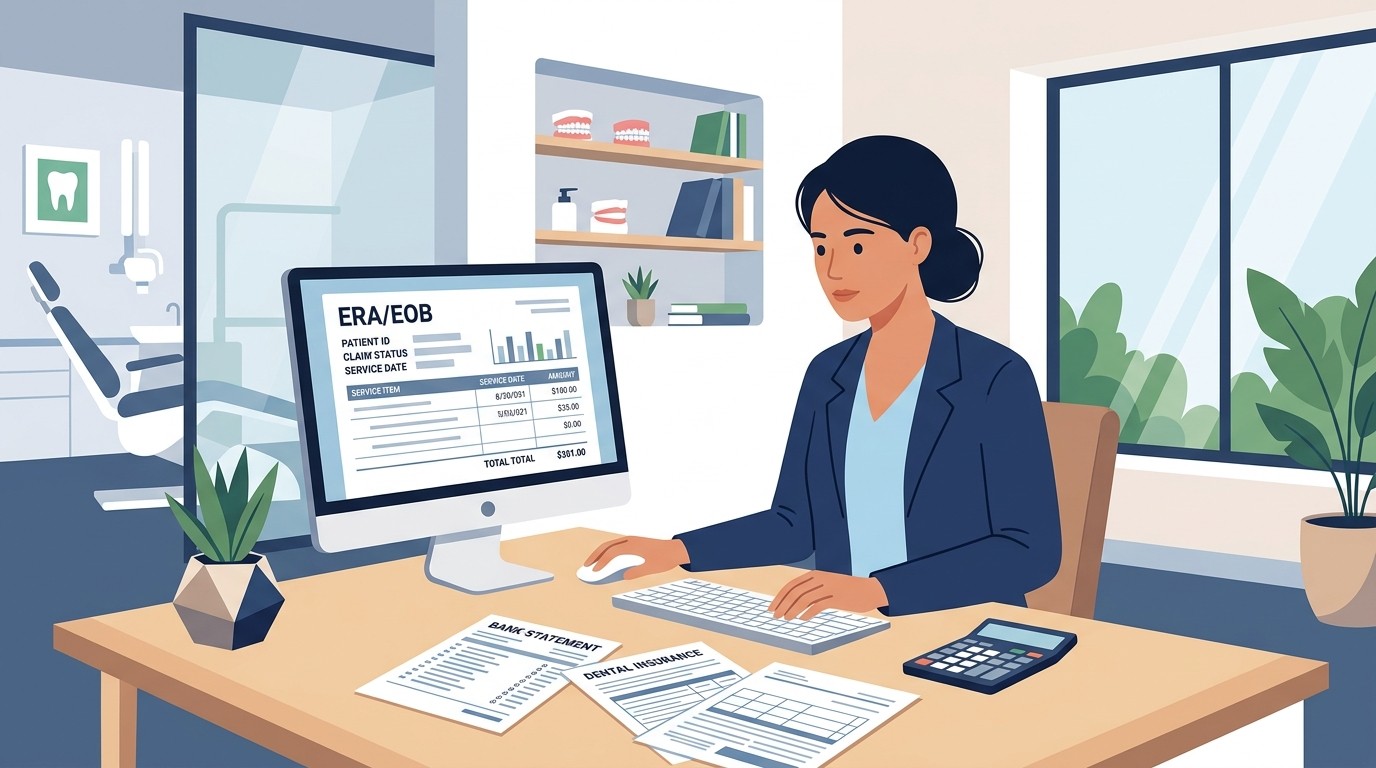
The bank shows a single deposit for $12,847.33 from Delta Dental. That deposit covers 43 patients and 97 procedures. Here is how to match it all up.
📚 Part of our insurance series: This article is part of The Complete Guide to Dental Insurance Payments, covering everything from EFT enrollment to ERA matching and payer-specific workflows.
The ACH Reconciliation Challenge
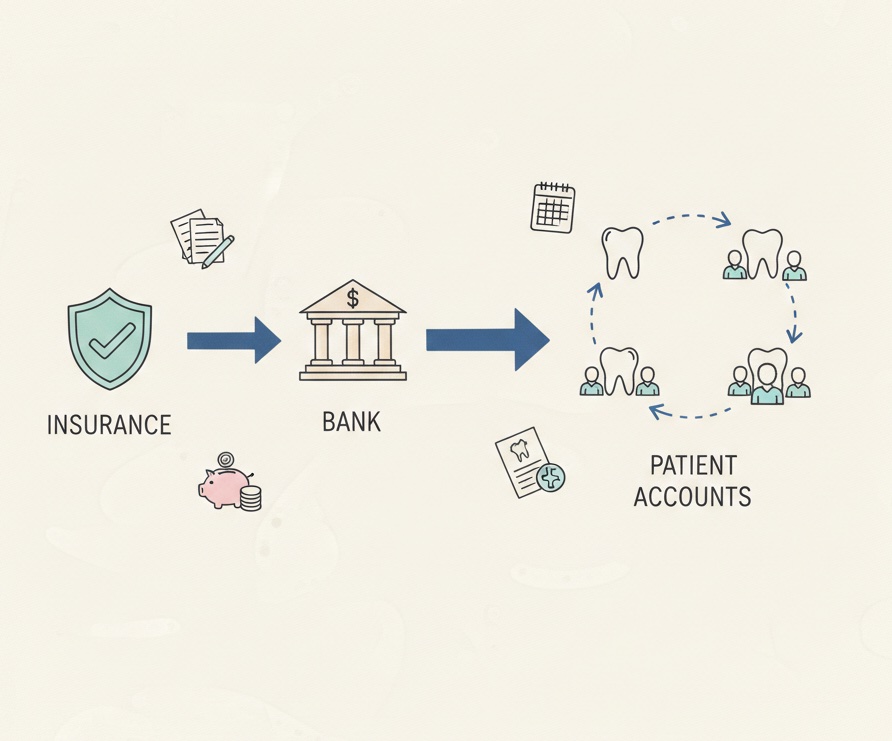
Insurance companies pay via ACH electronic funds transfer, depositing payments directly into your bank account. Unlike checks that arrive with attached EOBs, ACH deposits arrive as single lump sums that must be matched to their corresponding Electronic Remittance Advice to understand what was paid for whom.
This matching is essential for proper posting to patient accounts, verification that you received what was owed, identification of underpayments or errors, and accurate financial records.
Without matching deposits to ERAs, you have money in the bank but no way to apply it correctly.
How Insurance ACH Payments Work
The insurance company processes claims and determines payment amounts. They generate an ERA file documenting what they are paying for each claim. They transmit the ERA through your clearinghouse or make it available in their portal. They initiate an ACH transfer for the total amount to your bank account. The deposit appears in your bank, typically one to three business days later.
The deposit and ERA are related but arrive separately. Your job is to connect them.
Finding the Matching ERA
Start with the bank deposit by noting the exact amount, the deposit date, the payer name or identifier in the bank description, and any reference or trace numbers provided.
Search your ERA sources for a match. Check your clearinghouse for ERAs from the payer around the payment date. Check the payer's provider portal for payment history. Look for ERAs where the total matches your deposit amount.
Match by amount and timing. The ERA total should equal the deposit exactly. The ERA date should be close to the deposit date, typically zero to three days before.
Handle multiple ERAs in one deposit, which is common. Insurance companies often combine several ERAs into a single ACH payment. If no single ERA matches your deposit, search for multiple ERAs that sum to the total.
Verification Before Posting
Verify the patients are yours by reviewing the ERA to confirm the patients listed belong to your practice. Verify service dates make sense by confirming the dates of service on the ERA align with when you actually saw those patients. Verify payment amounts seem reasonable by checking that payments match expected allowed amounts for the procedures billed.
Flag any discrepancies for investigation before posting rather than discovering problems later.
Posting Insurance ACH Payments
Post from the ERA rather than the deposit by applying payments and adjustments as shown on the ERA document. The deposit simply confirms the money arrived.
Use auto-posting when available by importing the 835 ERA file into your practice management system for automatic matching to claims. Review before finalizing.
Post manually if necessary by working through each claim on the ERA and applying payments and adjustments to the correct patient accounts and procedures.
Verify the total by confirming your posted total matches the ERA total which matches the bank deposit.
Common ACH Reconciliation Issues
Deposit does not match any ERA when you cannot find an ERA matching your deposit amount. Check multiple ERA sources because the ERA may have arrived through a different channel. Check for combined ERAs that sum to the deposit. Check timing because the ERA may have arrived before or after the deposit. Contact the payer if truly missing.
Multiple deposits same day from same payer create confusion about which ERA matches which deposit. Use reference or trace numbers to distinguish. Match by exact amounts. Contact the payer if numbers do not reconcile.
Take-backs reduce deposit amount when insurance companies recoup prior overpayments by deducting from current payments. The deposit is less than the ERA total. Review the ERA for negative amounts showing recoupments.
ERA arrives but deposit does not appear when you have the ERA but the expected deposit is missing from your bank. Verify EFT enrollment is current and deposit account is correct. Check if payment was sent to a different account. Contact the payer to trace the payment.
Building a Daily ACH Reconciliation Process
Check bank daily for new insurance ACH deposits. Match each deposit to its corresponding ERA. Post or queue for posting once matched. Flag unmatched items for follow-up. Investigate and resolve flags promptly.
Maintaining a daily rhythm prevents backlog accumulation and catches issues while they are still fresh.
Managing insurance ACH reconciliation? Zeldent automatically matches deposits to ERAs, handles multi-ERA deposits, and tracks take-backs. Schedule a demo to see automated insurance payment matching.
Insurance Payment Quick Reference
Download the quick reference guide with ERA codes, payer portals, and troubleshooting tips for insurance payment reconciliation.