Principal Dental Reconciliation: Portal & ERA Matching Guide

Insurance Payment Quick Reference
Download the quick reference guide with ERA codes, payer portals, and troubleshooting tips for insurance payment reconciliation.
Principal dental payments require attention to their specific portal workflows. Here is how to reconcile them accurately and efficiently.
Principal Financial Group is a major provider of dental insurance, particularly through employer-sponsored group plans. While not as large as Delta Dental or MetLife in dental market share, Principal covers millions of members and represents significant revenue for many dental practices.
📚 Part of our insurance series: This article is part of The Complete Guide to Dental Insurance Payments, covering everything from EFT enrollment to ERA matching and payer-specific workflows.
This guide covers how Principal dental payments work, how to navigate their provider portal, and how to match deposits to ERAs accurately.
Understanding Principal Dental Products
Principal offers several dental plan types. Understanding which product a patient has helps set expectations for coverage and payment processing.
Principal Dental PPO plans allow patients to see any dentist with higher benefits for in-network providers. These traditional plans have deductibles, annual maximums, and coinsurance percentages that vary by plan design.
Principal Dental EPO plans require patients to use in-network providers for coverage. Out-of-network services are typically not covered except in emergencies.
Principal also offers dental coverage bundled with vision and other voluntary benefits through employer packages. These process through the same systems as standalone dental plans.
Some employers offer Principal dental through a self-funded arrangement where Principal administers claims but the employer bears the risk. Payment processing remains similar from the provider perspective.
How Principal Dental Payments Arrive
Most Principal dental payments arrive via electronic funds transfer. Bank descriptions typically show Principal, Principal Financial, Principal Life, or similar variations with a trace number.
EFT enrollment is managed through the Principal provider portal or through your clearinghouse. If you are not enrolled in EFT, Principal sends paper checks with attached EOB documentation. EFT enrollment speeds payment receipt and simplifies reconciliation.
Principal may offer virtual credit card payments. Many practices decline VCC due to processing fees. You can specify EFT-only payment preference through your provider enrollment.
Payments typically arrive three to five business days after Principal finalizes the claim. Complex claims requiring review may take longer.
Navigating the Principal Provider Portal
Principal maintains a provider portal at principal.com for provider transactions. This is your primary resource for claims, eligibility, and remittance information.
Registration requires your Tax ID, NPI, and practice information. Once registered, you can add staff members with appropriate permission levels for different functions.
Key portal functions for reconciliation include claims status tracking from submission through payment, remittance search for finding payment details and ERAs, eligibility verification for confirming patient coverage and benefits, and provider profile management for updating practice information.
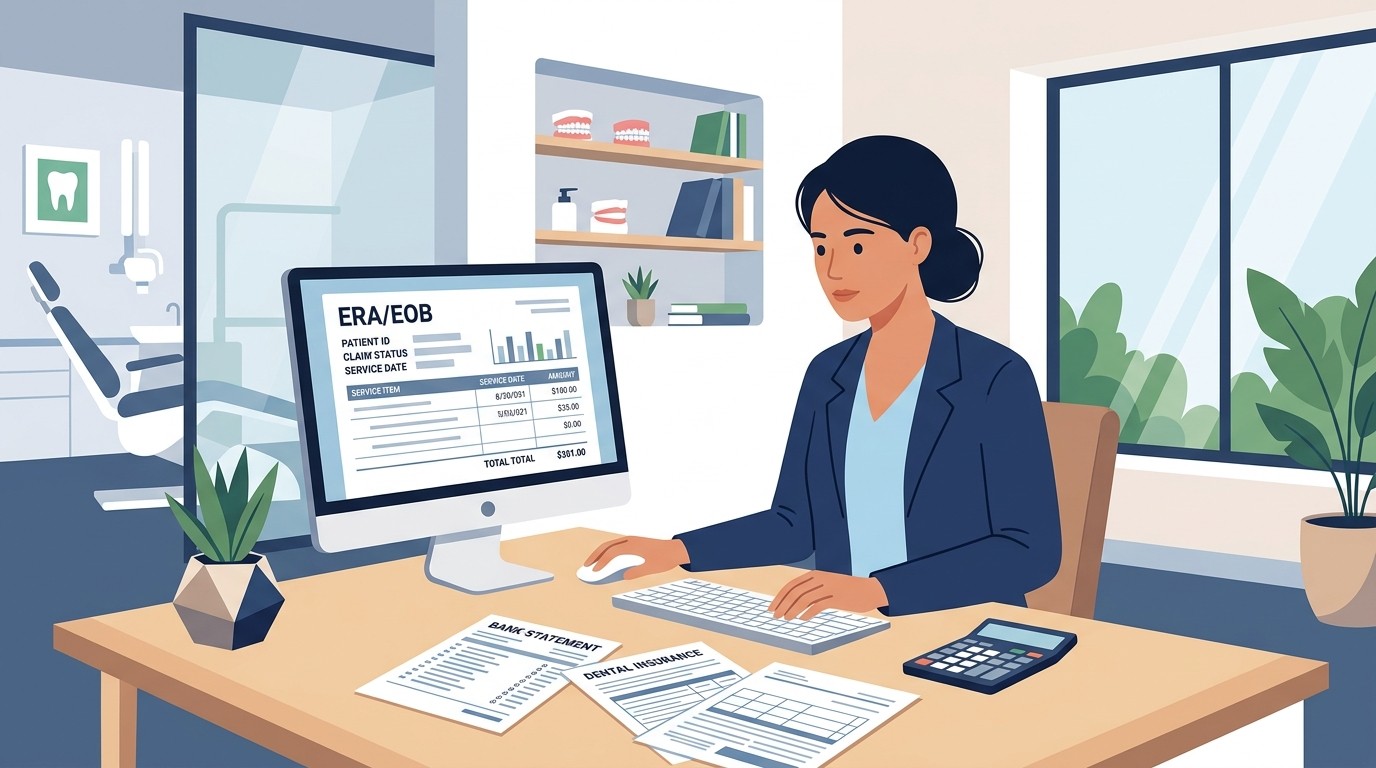
To find ERAs for reconciliation, log into the Principal portal and navigate to the Claims or Payments section. Search by payment date range, amount, or check/EFT trace number. ERAs can be viewed online or downloaded in 835 format.
Principal also works with clearinghouses for ERA delivery. If you use a clearinghouse, configure automatic ERA routing so remittances arrive without manual portal downloads.
Matching Principal Deposits to ERAs
Start by identifying the Principal deposit in your bank account. Note the exact deposit amount, deposit date, bank description, and trace number if visible.
In the Principal portal, search for matching ERAs. Navigate to the remittance or payment section and search by date range around the deposit date. If you have the trace number, search by that for an exact match.
Principal frequently combines multiple claims into a single deposit. If your deposit does not match any single ERA, look for multiple ERAs from the same date range that sum to the deposit total. This is common when several patients with Principal coverage have claims process on the same cycle.
Once you locate the ERA or ERAs, verify the match. Confirm the sum of ERA totals equals the deposit exactly. Check that trace numbers align. Review timing to ensure it makes sense.
Before posting payments, review each claim line on the ERA. Verify patients are yours and service dates match your records. Review allowed amounts against your fee schedule. Check contractual adjustments. Note patient responsibility for billing. Flag denied claims for follow-up.
Understanding Principal ERA Codes
Principal uses standard ANSI reason codes and remark codes. Some appear more frequently than others.
CO-45 indicates a contractual adjustment. This is the difference between your billed fee and Principal's allowed amount. Post as a provider adjustment, not patient responsibility.
PR-1 indicates deductible. This amount is patient responsibility.
PR-2 indicates coinsurance. Also patient responsibility.
PR-3 indicates copay amounts.
CO-4 indicates the procedure code is not consistent with the modifier or diagnosis. Review coding.
CO-18 indicates duplicate claim or service.
CO-29 indicates the time limit for filing has expired.
CO-50 indicates the service is not covered under the patient's plan.
CO-97 indicates payment already made for this service.
Remark codes provide additional context. Review these to understand why Principal processed a claim the way they did.
Common Principal Reconciliation Issues
Deposits without matching ERAs require investigation. First, expand your date range in the portal. Principal may release payment before the ERA posts. Check your clearinghouse if you receive ERAs there. Verify the deposit is actually from Principal.
Partial payments require ERA review to understand why. Common causes include patient deductible not yet satisfied, annual maximum reached, waiting periods on certain procedures, frequency limitations, and alternate benefit provisions where Principal pays based on a less expensive procedure.
Missing claims need status checks in the portal. Search by patient name, date of service, or claim number. The claim may be pending, may need additional information, or may have been denied.
Coordination of benefits issues arise when patients have dual coverage. If Principal is secondary, ensure the primary EOB was submitted. If Principal is primary, payment should process normally.
Posting Principal Payments Correctly
Post the exact deposit amount as shown on the ERA. Do not round. Apply payment to the specific patients and procedures listed.
Post contractual adjustments using your standard adjustment code. This is the difference between your fee and Principal's allowed amount for participating providers. This is not patient responsibility.
Transfer patient responsibility to patient balances. The ERA specifies exactly what the patient owes for deductibles, coinsurance, and non-covered amounts.
For denied claims, post a zero payment with the denial reason documented. Create follow-up tasks for appealable denials.
Document the ERA trace number in your PMS when posting. This creates an audit trail linking bank deposits to specific payments.
Daily Reconciliation Workflow
Establish a consistent workflow for Principal payments. Each morning, check your bank for Principal deposits. Log into the portal or check your clearinghouse for matching ERAs. Download and review ERAs before posting. Post payments same-day when possible. Research discrepancies immediately.
At end of day, verify your total posted Principal payments match the bank deposit exactly. Every dollar should be accounted for.
Weekly, review unresolved Principal discrepancies. Claims older than a week become harder to research as details fade.
Monthly, analyze your Principal collection rate compared to billed amounts. If collections consistently fall short of expectations, review your fee schedule or participation agreement.
Tips for Efficient Principal Reconciliation
Set up automatic ERA delivery through your clearinghouse. This eliminates manual portal downloads and integrates ERAs into your existing workflow.
Use trace numbers as your primary matching tool. The trace number reliably connects deposits to ERAs.
Create a Principal-specific posting batch in your PMS. This simplifies balancing and auditing Principal payments separately.
Train staff on Principal's common codes and processing patterns. Consistency prevents posting errors that create reconciliation problems.
Consider automation tools that match deposits to ERAs automatically. Manual matching works but consumes time better spent on patient care and follow-up.
Tired of manually matching Principal payments? See how Zeldent automates insurance reconciliation and catches discrepancies before they become lost revenue.
Insurance Payment Quick Reference
Download the quick reference guide with ERA codes, payer portals, and troubleshooting tips for insurance payment reconciliation.