Standardizing EOD Procedures Across a Dental Portfolio

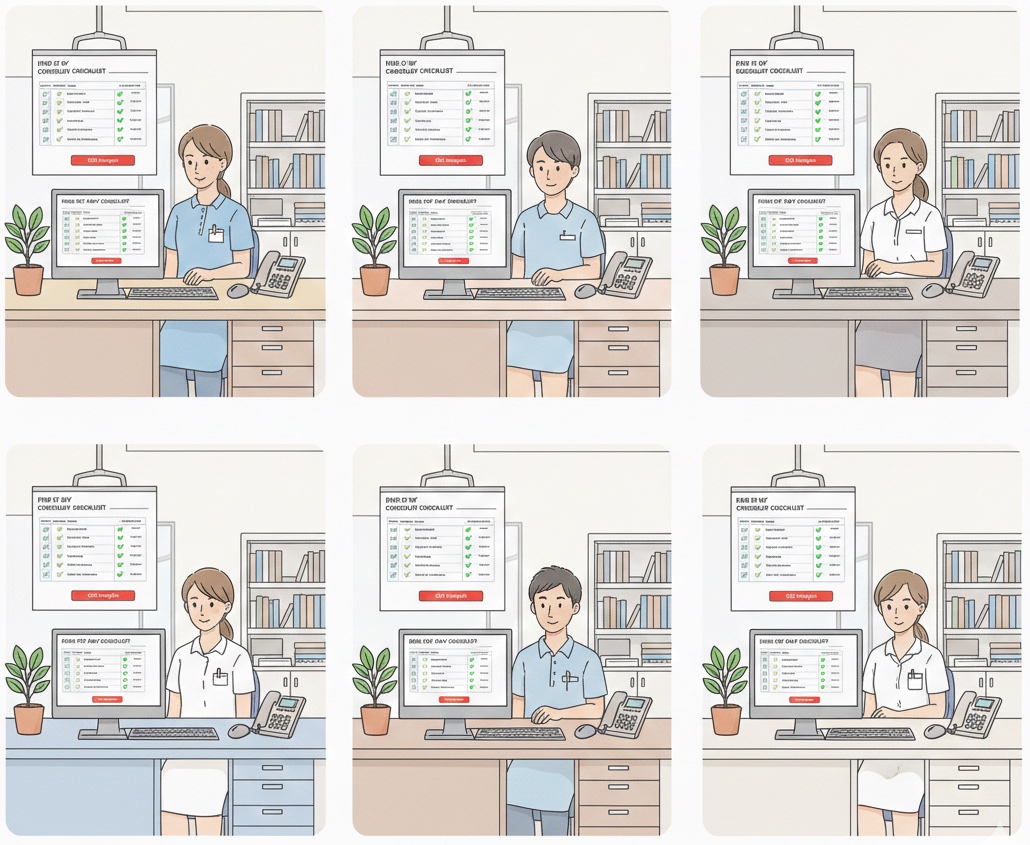
End-of-Day Reconciliation Checklist
Download the complete 9-step daily closeout checklist with reconciliation grid to close your books right every day.
When every location does EOD differently, every location's data means something different. Portfolio-wide standardization turns chaos into comparable, actionable information.
📚 Part of our DSO series: This article is part of The DSO Financial Operations Playbook, our comprehensive guide to building scalable financial operations across multiple dental practice locations.
Why Portfolio-Wide EOD Standardization Matters
Individual practice EOD is about closing out one day correctly. Portfolio-wide EOD standardization is about ensuring every location produces comparable data that can be aggregated, analyzed, and acted upon at the corporate level.
Without standardization, comparing locations is meaningless because each defines and measures differently. Exception identification becomes impossible because you do not know what normal looks like. Scaling becomes difficult because every new location requires custom integration. Fraud and errors hide because patterns are obscured by inconsistent processes.
With standardization, every location's numbers mean the same thing. Dashboards aggregate meaningfully across the portfolio. Exceptions stand out against consistent baselines. New locations integrate quickly using proven playbooks.
Core EOD Components to Standardize
Payment closeout must follow the same process everywhere. Every location should verify all patients are checked out and payments collected, count the cash drawer using the same verification form, compare cash count to PMS total using the same variance threshold, settle credit card batches at the same time daily, and compare batch totals to PMS credit card totals.
Deposit preparation must produce the same outputs. Every location should prepare deposits the same way, complete deposit documentation using standard forms, verify deposit totals match PMS totals, and secure deposits according to uniform policy.
PMS closeout must generate consistent data. Every location should run day-end processes at the same point in the workflow, generate the same standard reports, verify the same metrics, and save or submit documentation in the same format.
Reconciliation must apply the same standards. Every location should compare deposits to collections using the same methodology, document variances using the same threshold for investigation, flag unresolved items using the same escalation process, and note exceptions using the same communication channel.
Reporting must deliver uniform information. Every location should submit the same reports on the same schedule, flag the same types of exceptions, and file documentation according to the same retention requirements.
Timing Standardization
When things happen matters as much as what happens. Standardize timing across the portfolio by requiring credit card batch settlement at the same time at every location, PMS day-end run within the same window relative to close, report submission within the same deadline after close, and deposit preparation complete before the same cutoff.
Consistent timing enables consistent oversight. If every location submits by 6:30 PM local time, regional managers can review by 7:00 PM rather than checking throughout the evening.
Documentation Standardization
Required documentation should be identical across locations including deposit verification with itemization, day-end summary from PMS, cash count verification signed by counter, credit card batch report, and exception documentation for any variances.
Format requirements should specify standard templates for all documents, consistent naming conventions for files, centralized storage accessible to corporate, and clear retention periods.
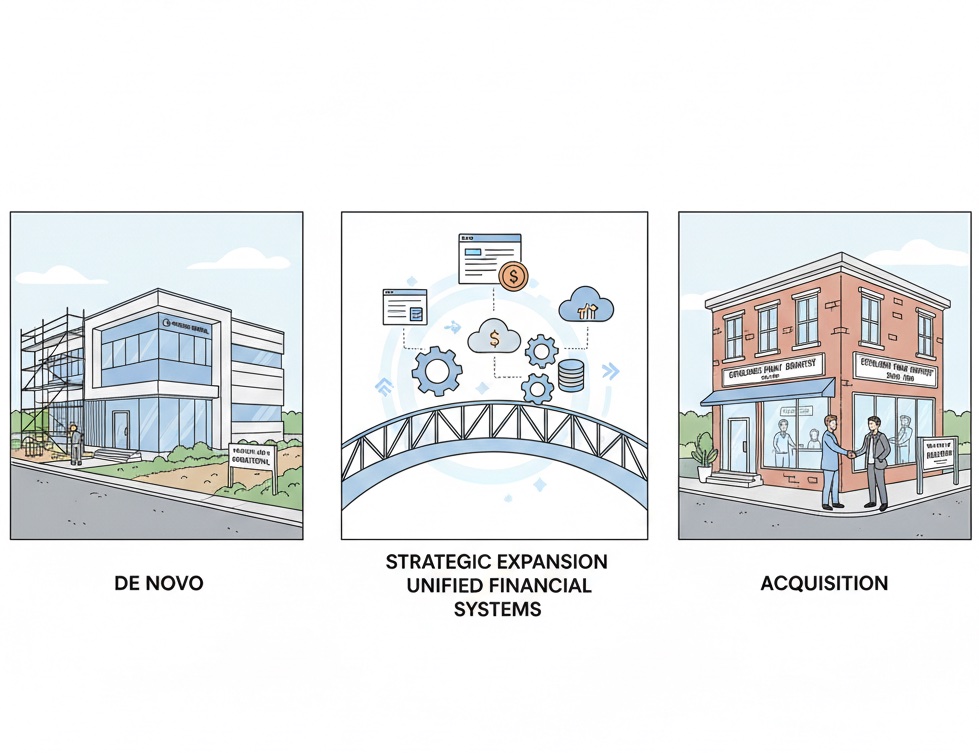
Implementation Approach
Phase one documents current state by observing EOD at each location, interviewing staff about their procedures, reviewing existing documentation, and identifying best practices worth adopting along with problems requiring correction.
Phase two designs the standard by involving corporate finance leadership, regional managers, top-performing office managers, and staff who actually perform EOD. The standard should be simple enough for consistent execution, complete enough to catch issues, efficient enough to avoid burdening staff, and measurable for accountability.
Phase three rolls out the standard through clear communication about why standardization matters, comprehensive training with hands-on practice, dedicated support during transition, and patience with the learning curve.
Phase four monitors and enforces through daily review of submitted reports, weekly compliance verification, monthly documentation audits, and quarterly on-site verification.
Addressing Common Challenges
Resistance to change manifests as we have always done it this way from locations with established routines. Address this by explaining benefits, acknowledging what works well, incorporating best practices into the standard, and setting clear expectations with deadlines.
Different PMS platforms mean locations cannot follow identical steps even when achieving identical outcomes. Address this by standardizing outcomes rather than keystrokes, creating PMS-specific supplements to the universal checklist, and focusing on what gets submitted rather than exactly how.
Staffing differences mean some locations have dedicated billing staff while others divide responsibilities. Address this by defining roles clearly for each staffing model, ensuring coverage regardless of organization, and providing additional support to understaffed locations.
Measuring Standardization Success
Compliance metrics track whether locations follow the standard including on-time submission rate targeting ninety-five percent or better, checklist completion rate targeting one hundred percent, documentation completeness targeting one hundred percent, and deviation frequency targeting less than five percent.
Quality metrics track whether the standard produces good results including average deposit-to-PMS variance targeting under fifty dollars, zero-variance day percentage targeting ninety percent or better, variance resolution time targeting forty-eight hours, and error rate targeting under one percent.
Efficiency metrics track whether the standard is workable including average EOD completion time targeting thirty minutes or less, EOD-related overtime targeting zero regular overtime, support request volume targeting decline over time, and staff satisfaction targeting positive feedback.
Technology Enablers
Digital checklists ensure steps cannot be skipped, create automatic timestamps, maintain visibility for management, and create historical records.
Automated reporting reduces manual effort through automatic report generation at day-end, automatic submission to central repository, automatic alerts for missing reports, and dashboards showing all location status.
Reconciliation automation verifies the standard is working through automatic comparison of PMS to bank data, automatic variance calculation, automatic exception flagging, and automatic audit trail maintenance.
Standardizing EOD across your portfolio? Zeldent provides automated reconciliation that verifies every location's closeout against bank data. See all locations in one dashboard, flag exceptions automatically, and know that standards are being met. Schedule a demo to see portfolio-wide oversight.
End-of-Day Reconciliation Checklist
Download the complete 9-step daily closeout checklist with reconciliation grid to close your books right every day.