Eaglesoft End-of-Day: How to Close Your Books Properly
End-of-Day Reconciliation Checklist
Download the complete 9-step daily closeout checklist with reconciliation grid to close your books right every day.
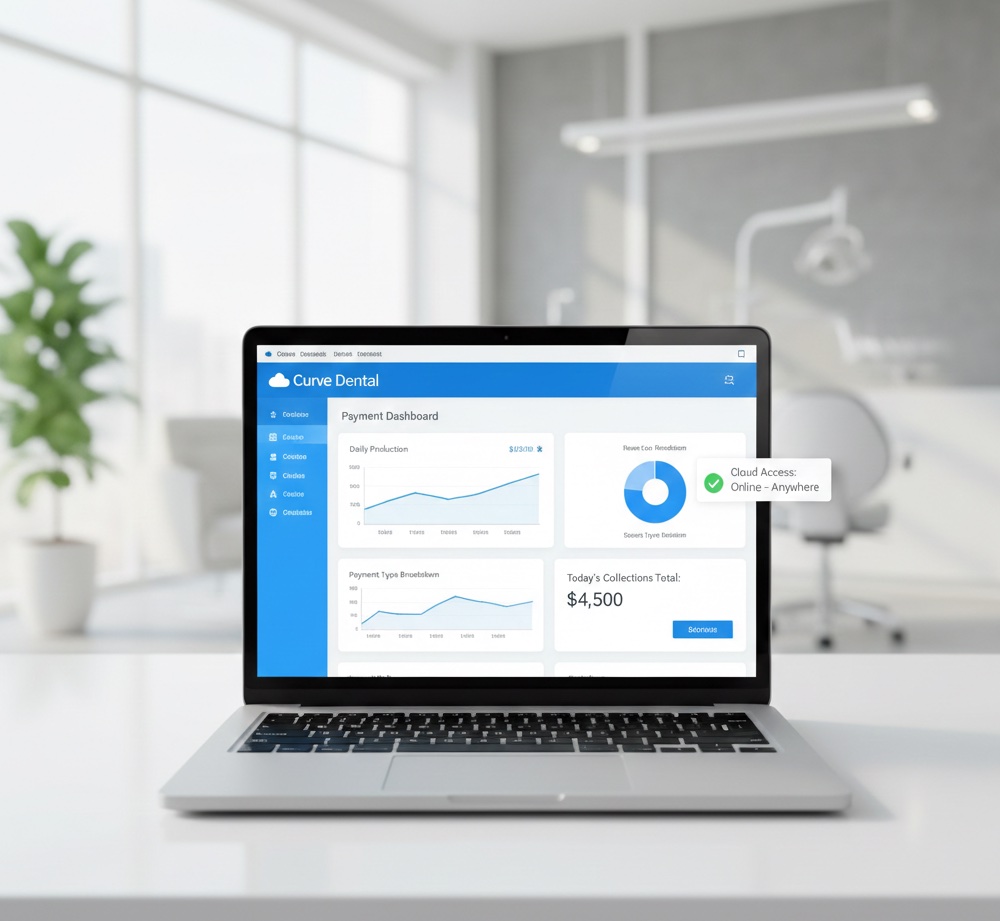
Eaglesoft has everything you need for a clean closeout. The trick is knowing which features to use and in what order.
📚 Part of our reconciliation series: This article is part of The Complete Guide to Dental Practice Reconciliation, our comprehensive resource on closing your books accurately and preventing revenue leakage.
Understanding Eaglesoft's Financial Architecture
Patterson Dental's Eaglesoft is one of the most widely used practice management systems in dentistry, and its financial management features are genuinely comprehensive. The challenge is not capability but complexity. Teams that understand how Eaglesoft organizes financial data can close their books in fifteen minutes. Teams that do not understand the system often spend hours chasing discrepancies that should have been caught immediately.
At its core, Eaglesoft tracks payments through a layered system. Patient payments typically enter through the Account module during checkout or via the Payment Entry screen. Insurance payments come in either manually from EOBs or electronically through ERA auto-posting when the practice uses Eaglesoft's eClaims integration. Batch payments allow multiple transactions to be entered together, which is particularly useful during insurance posting sessions.
Each payment receives a type classification that determines how it appears in reports and reconciliation. Standard types include cash, check, credit card with optional subtypes for different card brands, insurance check, and EFT. These payment types are configured in the Lists menu under Payment Types, and practices should customize them to match their specific workflow and reconciliation needs.
The deposit slip feature is where Eaglesoft connects individual payments to what actually goes to the bank. Payments are assigned to deposit slips, which track what gets deposited and generate reports that show deposit totals for bank matching. This feature, found under Activities and then Deposit Slip Entry, is essential for anyone trying to reconcile Eaglesoft to bank statements.
The Reports That Make Reconciliation Possible
Eaglesoft offers several reports that serve different reconciliation purposes, and understanding which to use when saves considerable time.
The Daily Journal provides the most comprehensive view of daily activity. Found under Reports, then Daily Reports, then Daily Journal, it shows all financial activity for the day including production, payments, and adjustments in detailed transaction listing format. This report serves as your complete audit trail and the definitive record of what happened on any given day.
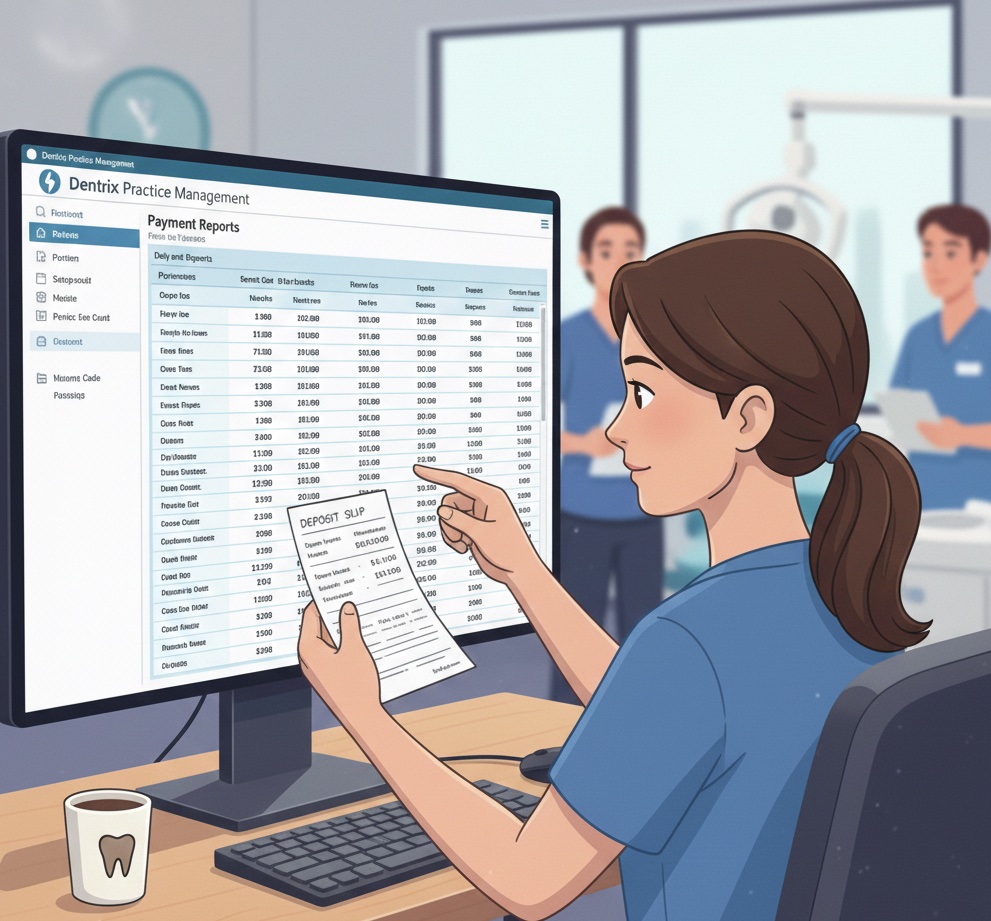
The Payment Report, located in the same Daily Reports menu, focuses specifically on payment detail for reconciliation. It breaks down all payments by type, shows payment amounts with associated patients, and provides totals by payment category. This is the report you will use most frequently when reconciling your cash drawer, credit card batches, and checks at end of day.
The Deposit Slip Report provides deposit summary and detail, showing deposits created, which payments are included in each deposit, and deposit totals. This report bridges the gap between what Eaglesoft shows and what your bank will show, making it essential for bank reconciliation.
The Day Sheet offers a management-level summary of daily production and collections, showing production by provider, collections by type, adjustments, and daily summary totals. While less detailed than other reports, it provides the quick overview that practice owners and managers need for daily verification.
For insurance-specific reconciliation, the Insurance Payment Report under Insurance Reports shows payments by insurance carrier with claim-level detail, payment dates, and amounts. This report is invaluable when reconciling insurance EFTs to posted payments, especially when multiple ERAs arrive in a single deposit.
The Daily Closeout Process
Effective day-end reconciliation in Eaglesoft follows a specific sequence. Skipping steps or doing them out of order creates opportunities for errors to slip through undetected.
Before touching any reports, verify that all work for the day is actually complete. All patients should be checked out, all payments should be entered, all insurance payments that arrived today should be posted, all adjustments should be entered, and there should be no pending items sitting in queues waiting for attention. Starting closeout with incomplete work guarantees that your numbers will not match.
Once you are confident the day's work is complete, run the Payment Report for today's date with all payment types included. Review the totals by payment type and scan for any obviously incorrect entries or payments that need investigation. This report becomes your reference document for the rest of the closeout process.
Cash reconciliation comes next. Note the cash total from the Payment Report, count the physical cash in your drawer, and compare the totals. Common variances include payments entered as the wrong type, payments not entered at all, cash collected but the drawer coming up short, or simple counting errors. Document your cash count on a verification form regardless of whether it matches perfectly.
Credit card reconciliation follows the same pattern but compares to your merchant batch rather than physical currency. Note the credit card total from the Payment Report, settle your batch on the credit card terminal, and compare the totals. Variances here often stem from declined transactions recorded as payments, refunds not entered in Eaglesoft, transactions from the prior day still in the batch, or timing differences between when the terminal and Eaglesoft recorded transactions. Save your batch settlement report as documentation.
Check reconciliation compares the check total from the Payment Report to physical checks in hand. List all checks you have, compare totals and check numbers to what Eaglesoft shows, and verify every check is accounted for.
With all payment types reconciled, create a deposit slip in Eaglesoft by going to Activities, then Deposit Slip Entry, creating a new deposit slip, selecting the payments to include, verifying the total, and printing the deposit slip. Prepare your physical deposit with cash and checks matching the deposit slip amounts, complete your bank deposit slip, and verify all totals match before securing the deposit.
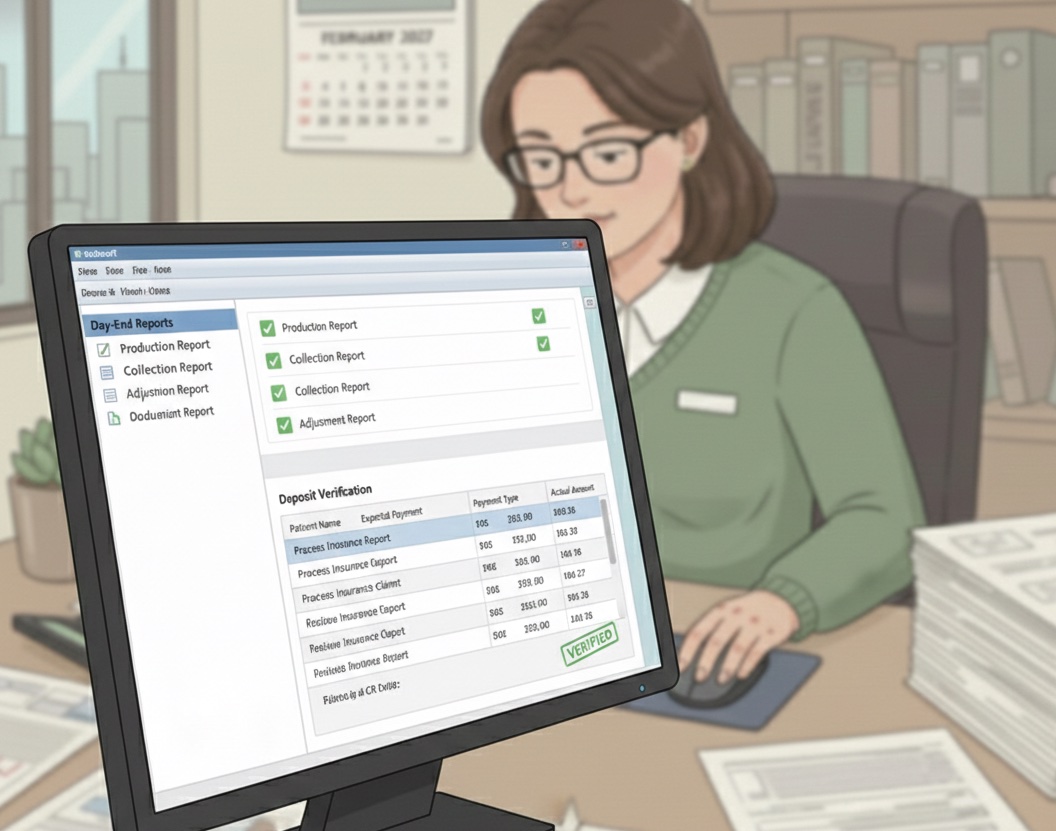
Finally, run your day-end reports for documentation. The standard set includes the Payment Report for your records, the Deposit Slip Report, the Day Sheet for management, and the Daily Journal for a complete audit trail. Save or print these according to your documentation policy, submit daily reports to corporate or the owner as required, file documentation per policy, secure the deposit, and note any issues that need follow-up.
Insurance Payment Reconciliation
Insurance payments require their own reconciliation process, whether you are using ERA auto-posting or posting manually from paper EOBs.
For practices using Eaglesoft's electronic remittance through eClaims, the process involves downloading ERAs from your clearinghouse, importing them into Eaglesoft, allowing auto-posting to patient accounts, reviewing posting accuracy, and matching totals to bank EFT deposits. Verification requires running the Insurance Payment Report, comparing to ERA totals, and investigating any discrepancies.
Manual EOB posting requires opening each patient account in Eaglesoft, navigating to the insurance claim, and posting payments and adjustments per the EOB while verifying amounts match. For batch posting of multiple claims on a single EOB, track the total check amount, post all claims on the EOB, and verify the posted total matches the check before considering the batch complete.
Matching insurance EFTs to posted payments closes the loop between your bank and Eaglesoft. The process involves identifying an insurance EFT in your bank account, finding the corresponding ERA, running the Insurance Payment Report for that carrier and date, and verifying the Eaglesoft total matches the EFT. Common issues include multiple ERAs in one EFT, partial postings that have not been completed, and timing differences between when funds arrive and when posting occurs.
Monthly Reconciliation Procedures
Daily closeouts catch immediate problems, but monthly reconciliation verifies the bigger picture.
Bank-to-Eaglesoft reconciliation for the month involves running the Payment Report for the entire month, summing bank deposits for the same period, comparing totals, and investigating any variance. Expected variances include deposits in transit, credit card processing fees if those are netted from deposits, and non-revenue deposits in the bank account.
AR reconciliation verifies that accounts receivable balances are accurate. The Aging Report shows AR by age bucket while the Insurance Aging report provides insurance AR detail. Review that total AR is reasonable, that aging distribution is appropriate for your practice, and that there are no unexpected balances hiding in the data.
Adjustment analysis monitors adjustment activity that affects revenue. Run the Adjustment Report for the month, review by adjustment type, verify that large adjustments are properly documented, and calculate the adjustment percentage of production to track trends over time.
Troubleshooting Common Eaglesoft Issues
Payment type errors occur when a payment is entered with the wrong type. Symptoms include cash not balancing, credit card totals not matching the batch, or payments appearing in the wrong category on reports. The fix involves finding the incorrect payment, voiding or editing it, re-entering with the correct type, and rerunning reports to verify the correction.
Deposit slip discrepancies happen when the deposit slip does not match what the bank shows. This usually results from payments not being included, wrong payments being grouped together, or arithmetic errors. Review the deposit slip contents, edit to include or exclude the correct payments, and regenerate to verify.
Unposted insurance payments create gaps between bank EFTs and posted payments. Symptoms include bank EFTs not matching posted payments, claims showing pending status when they should be closed, or ERA totals exceeding what has been posted. Review the ERA for unposted claims, complete the posting, and verify totals match.
Split payments can also cause reconciliation headaches when payments are distributed across patients or methods. If payment totals do not add up or patient balances are incorrect, review the payment splits, verify allocations are correct, and adjust as needed.
Configuration for Better Reconciliation
Proper Eaglesoft configuration makes reconciliation significantly easier.
Payment type setup should provide clear categories that match your workflow. Consider separate types for each card brand if that helps your reconciliation, use clear names that match how your team thinks about payments, and disable any unused types that just add confusion.
Deposit slip settings should match your bank's requirements. Enable automatic payment selection if that helps your workflow, set the default deposit slip format to what works best for your bank, and configure formatting to match deposit slip requirements.
User permissions control access to financial functions and should be configured through Utilities and then Security. Limit payment entry to authorized staff, restrict payment modification to prevent unauthorized changes, and enable audit logging to track all changes.
Report defaults save time by storing commonly used settings. Run reports with your desired parameters, save those settings for future use, and train staff on the saved configurations so everyone uses consistent parameters.
Multi-Location Considerations
Practices using Eaglesoft's multi-location features face additional reconciliation considerations.
Each location should reconcile separately with reports filtered by location. Create deposits per location and match to location-specific bank accounts. Corporate offices can then run consolidated reports across all locations for oversight.
Centralized oversight options include Eaglesoft's enterprise reporting features, third-party consolidation tools, or manual consolidation from individual location reports. The right approach depends on your organization's size and reporting requirements.
The Case for Automation
Manual reconciliation in Eaglesoft works but requires consistent execution and significant time investment. Automated tools can connect to Eaglesoft data through database connections that require technical setup, report exports in CSV or PDF format, or integration with compatible platforms.
When combined with bank feed integration that provides secure connections and daily data refresh, automated matching delivers daily reconciliation without manual comparison, exception identification that highlights only the items needing attention, historical tracking across time periods, and multi-location visibility for enterprise practices.
Using Eaglesoft and want to automate reconciliation? Zeldent integrates with Eaglesoft to match payments to bank deposits automatically, flagging only the exceptions that need your attention. Stop the daily manual verification and focus on what matters. Schedule a demo to see Eaglesoft reconciliation simplified.
End-of-Day Reconciliation Checklist
Download the complete 9-step daily closeout checklist with reconciliation grid to close your books right every day.